How to clean a bottle warmer
This post contains affiliate links. If you buy through them, we may earn a small commission at no extra cost to you.Learn more.
Learning how to clean a bottle warmer comes down to two habits: a quick wipe after each use, and a proper descale every week or two to clear the limescale that heating water leaves behind. Do both and the warmer keeps heating evenly and stays hygienic. Skip the descale and it slowly gets slower and crusts up inside. We have run a few different warmers, a countertop water bath, a steam one, and a cordless portable, so this is simply how we keep each of them clean, with mild soap, white vinegar and not much else.
One quick note first. We cover the gear and its upkeep here. Safe milk handling, storage times and warming temperatures are questions for the CDC and your pediatrician, not a blog, and before you descale, check the manual for your warmer, because a few makers specify their own solution or say which parts can come off. And whatever you clean it with, never mix vinegar with bleach.
What you need
Nothing harsh, and nothing you would not already have.
- Warm water and a little dish soap
- White vinegar, for descaling and cutting residue
- A soft cloth or sponge, plus an old toothbrush for the seals and corners
- Clean water for rinsing, ideally filtered if your tap water is hard
Skip the abrasive scourers and the strong sprays. Around something that warms your baby’s milk, soap and vinegar do the whole job, and a wire pad only scratches the surfaces you are trying to keep clean.
The quick wipe after each use
The habit that keeps a warmer from ever getting bad takes about ten seconds. After it has cooled, tip out any water left in the chamber rather than leaving it to sit, wipe the inside and the lid with a soapy cloth, and dry it. Standing water is what leaves the white scale rings and lets residue dry on, so emptying and drying after each use is most of the battle.
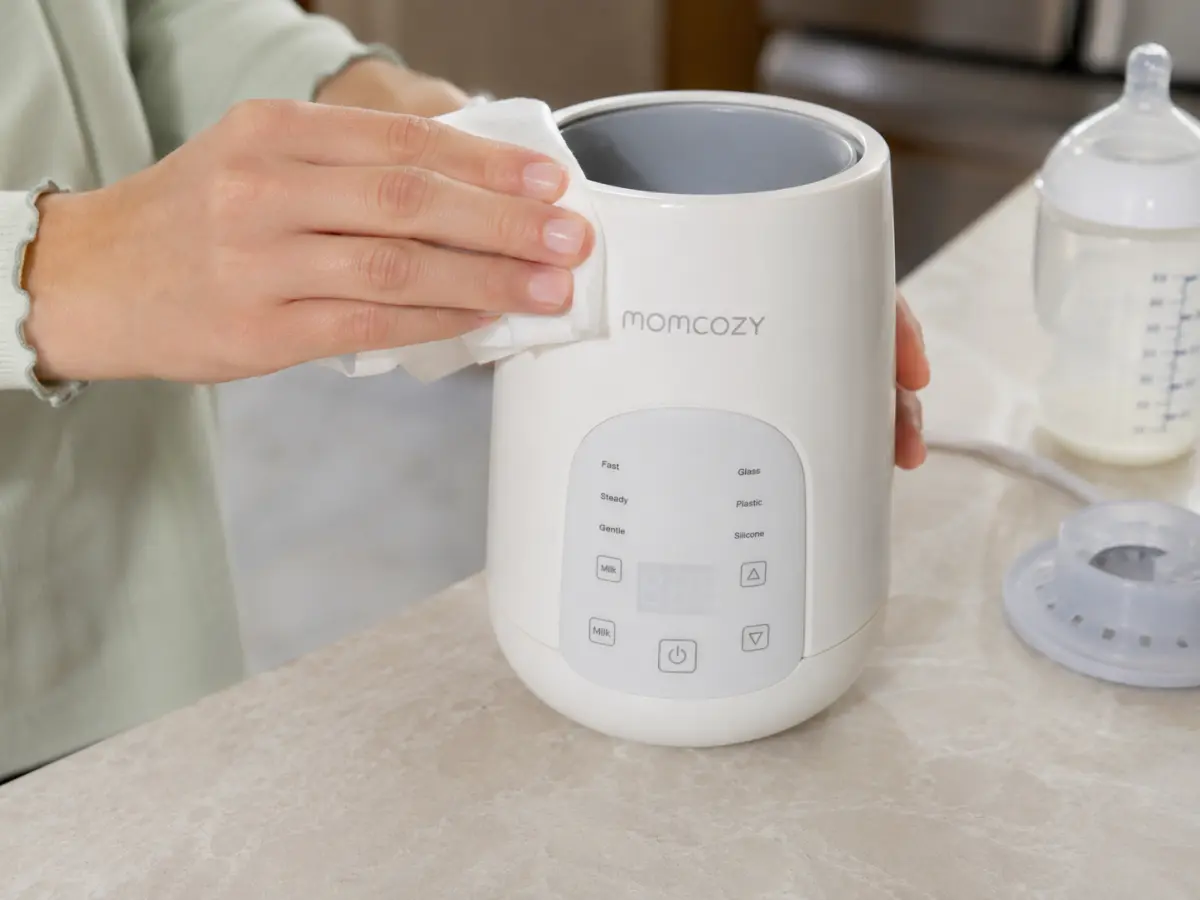
Give the chamber and the underside of the lid a quick look while you wipe. Milk that splashed up during warming, or a drip down the side of the bottle, dries into the corners if you leave it, and those corners are exactly where a fast wipe now saves a scrub later.
Descaling: the job that actually matters
This is the part people skip and then wonder why the warmer got slow. Anything that heats water builds limescale, a chalky mineral deposit, on the chamber and the heating plate. Left alone it insulates the element, so the warmer heats slower and less evenly, and it looks grim. Descaling is what reverses that, and it is worth doing on a schedule rather than waiting for the crust.
The method is simple. Fill the chamber with a half-and-half mix of white vinegar and water, leave it to sit for about 30 minutes, or run a single warming cycle with no bottle in it so the warm solution works on the scale. Then pour it out, rinse the chamber two or three times with clean water to get all the vinegar out, and wipe it dry. Check your manual first, because some makers call for citric acid or their own descaling solution instead of vinegar, and a few give a set routine worth following.
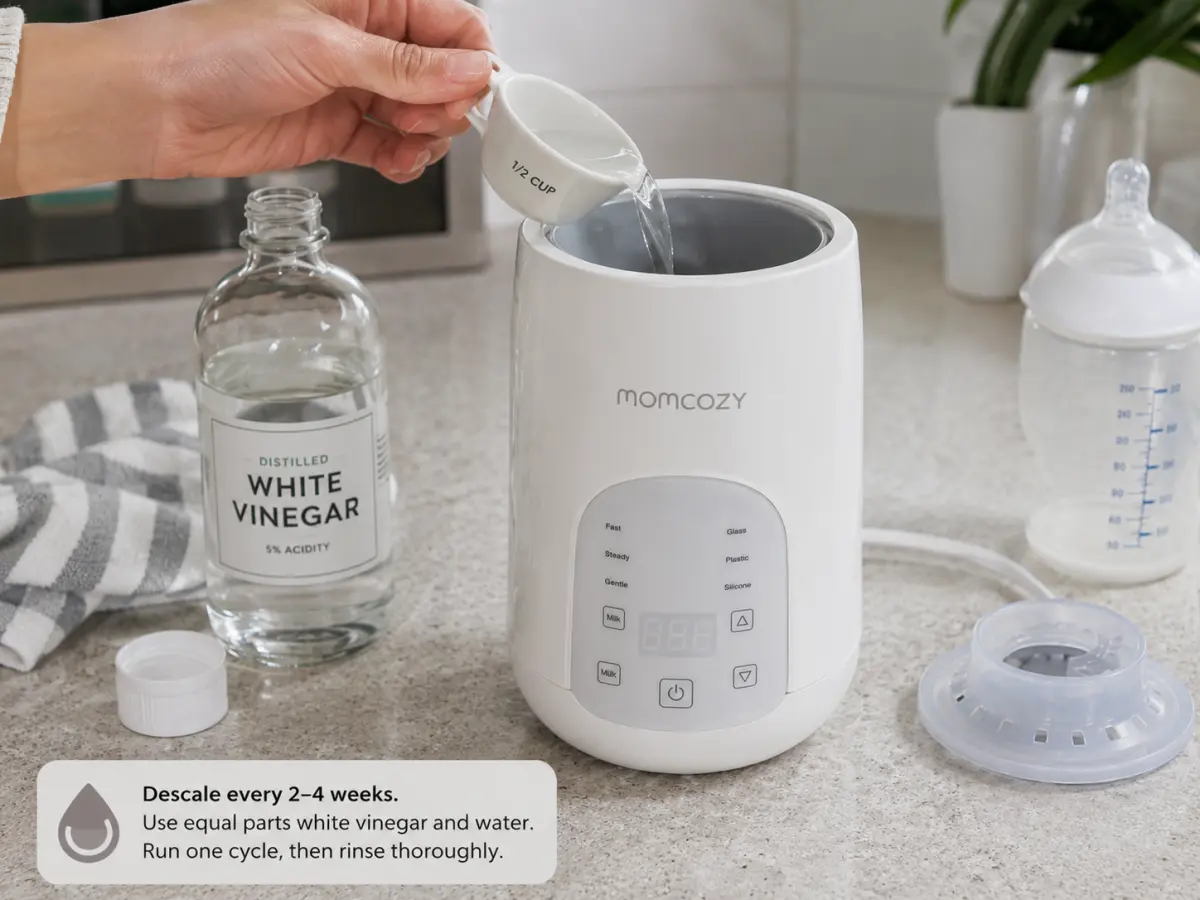
How often depends on two things: how hard your water is and how much you use the warmer. Every one to two weeks suits most homes. If you are in a hard-water area, expect to do it more often than the manual suggests, because scale builds faster there, which is one reason we flag descaling as a real cost of ownership in our how to choose a baby bottle warmer guide. Using filtered water in the chamber slows the buildup and means fewer descales.
The chamber, lid and any removable parts
Beyond the descale, the parts that touch milk or trap water need their own attention. Wipe the chamber walls, the rim, and the underside of the lid with soapy water. If your warmer came with a basket, a lid insert or a rubber gasket, take those off and wash them, and run the toothbrush around any seal or groove where residue and scale collect out of sight. Rinse and dry everything fully before it goes back together.
Fewer parts make this easier, which is worth remembering when you buy. A simple chamber with no fiddly inner basket is quicker to keep clean than one with lots of pieces, and it is one of the things we weigh in a warmer.
Steam warmers scale up faster
Water-bath warmers, like the Philips Avent we use daily, scale up more slowly but still scale, and a warmer caked in it heats slower and less evenly, which quietly undoes the speed you paid for.
If yours is a steam warmer rather than a water bath, it asks for the descale a little more often. A steam warmer turns a small measured amount of water into steam on a hot plate, and that plate is where limescale builds fastest and clings hardest, so a white crust forming there is your cue to descale sooner rather than later. The vinegar-and-water method is exactly the same, you just reach for it more frequently. Measuring the exact amount of water the manual asks for helps as well: overfill it and the leftover sits and scales, underfill it and the plate can run dry. A quick glance at the fill line each time avoids both, and it keeps the warming times consistent rather than drifting slower as scale creeps in.
Cordless and portable warmers are different
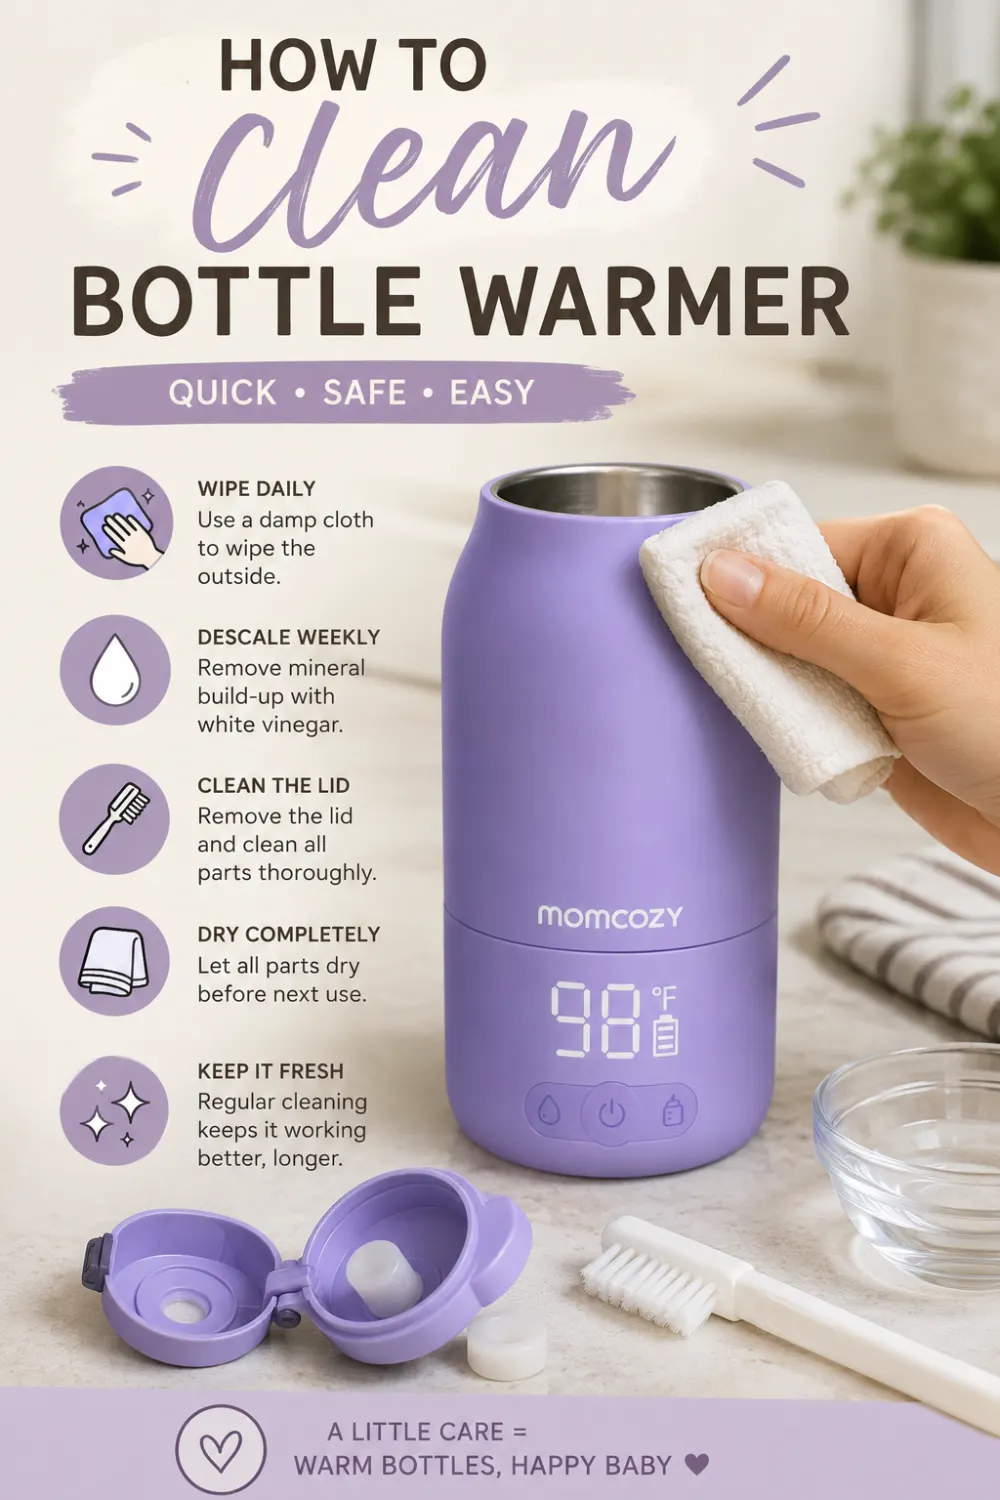
A portable warmer is built differently and cleans differently, so treat it on its own terms. The key rule is the same as any electrical warmer, only more so: do not submerge the unit with the battery and electronics in it. Wipe that part only. What you can wash are the pieces that come apart. Our portable, for instance, breaks down into a thermos, a lid and a couple of silicone seals, and those rinse under the tap easily, which is a big part of why it is simple to live with. We go into that in our Momcozy portable bottle warmer review.
Because a portable holds water against silicone and steel rather than an open heating chamber, it picks up less visible scale, but it still wants a rinse and a full dry after use so nothing sits damp in the bag. Dry the seals fully before reassembling, or they can hold a stale smell.
Drying, and stopping buildup before it starts
Two small habits prevent most of the cleaning. First, always empty the water and dry the warmer after use rather than leaving it to sit wet, since standing water is what causes both the scale rings and any musty smell. Second, if your tap water is hard, switch to filtered or distilled water in the chamber, which cuts down the mineral deposit at the source and stretches the time between descales.
Neither takes real effort, and together they turn cleaning a bottle warmer from a scrubbing job into a wipe and the occasional vinegar rinse. If a warmer or its lid ever picks up a stale smell, it is almost always a part that got put away damp, so a vinegar wipe followed by a full air-dry usually clears it.
What not to do
A short list, because a couple of these can wreck a warmer. Do not submerge the base or put it under a tap, since the heating element and electronics are in there. Do not use bleach or an abrasive scourer, which scratch the surfaces and are not what you want near milk. Do not run vinegar through it if the manual specifically says not to, and follow the maker’s descaling instructions where they give them. And do not leave water standing in the chamber between uses, which undoes most of the cleaning you just did.
How often, in short
A wipe and a dry after every use, and a descale every one to two weeks, more often with hard water. The wipe is the part that matters most day to day, and the descale is what keeps the warmer heating fast and evenly over the long run. Neither is a big job if you never let it get bad.
The bottom line
Cleaning a bottle warmer is easy if you stay ahead of it: empty and wipe it after each use, descale with a vinegar and water solution every week or two, wash the removable parts, and never submerge the base or reach for bleach. How much cleaning a warmer needs also depends on the warmer itself, which is part of why we treat easy cleaning as a real feature in our how to choose a baby bottle warmer guide. If you are still picking one, start with the warmers we actually use in our best bottle warmers roundup.
Frequently asked questions
How do you clean a bottle warmer?
After each use, tip out any leftover water, wipe the chamber and lid with a soapy cloth, and dry it. Every week or two, descale it: fill the chamber with a half-and-half mix of white vinegar and water, leave it about 30 minutes or run a warming cycle with no bottle in it, then rinse thoroughly and wipe dry. Use mild soap and vinegar only, never bleach or an abrasive scourer, and never submerge the base.
How do you descale a bottle warmer?
Limescale builds up wherever a warmer heats water, so descaling is the job that actually keeps it working. Fill the chamber with equal parts white vinegar and water, let it sit for around 30 minutes (or run one warming cycle with no bottle), then pour it out, rinse two or three times with clean water, and wipe dry. Check your manual first, since some makers specify citric acid or their own solution instead of vinegar.
How often should you clean a bottle warmer?
A quick wipe and dry after every use, and a descale every one to two weeks. If you live somewhere with hard water, or you use the warmer many times a day, descale more often, because scale builds faster there. The daily wipe stops milk residue and water spots, and the regular descale is what keeps the heating fast and even.
Can you put a bottle warmer in water to clean it?
No. A countertop warmer has a heating element and electronics in its base, so submerging it can ruin it and is unsafe. Only wipe the outside and the chamber, and never put the base under a tap or in the sink. Removable parts like a lid, a basket or, on a portable warmer, the thermos and silicone seals can be washed separately. Follow the manual for which parts come off.