How to use a bottle warmer
This post contains affiliate links. If you buy through them, we may earn a small commission at no extra cost to you.Learn more.
Using a bottle warmer is four steps: water in the chamber, bottle in, the right setting, then swirl and test. The part nobody tells you is that the machine is easy and the timing is the skill, and the timing is specific to your warmer, your bottles and your fridge.
We have used four warmers across three years, and the difference between a warmer that feels helpful and one that feels like an obstacle has never been the machine. It has been whether we knew its real number.
Anything on this page about the milk itself, what temperature it should be fed at or how it should be handled, belongs to the CDC and your pediatrician. What follows is how to work the appliance.
Read the manual once, for the water
This is the least appealing sentence in the article and the one that saves the most trouble. Water is the one thing warmers genuinely disagree about, and getting it wrong produces results people blame on the warmer.
A steam warmer uses a small measured amount of water and converts it to steam, so a filling line that looks stingy is correct. A water-bath warmer wants enough water to surround the milk level in the bottle, and too little leaves you with a bottle that is warm at the bottom and cold at the top. Two machines, opposite instructions, same-looking chamber.
Measure it the way the manual says for the first week. After that you will be pouring by eye, which is fine, but by then your eye knows what it is doing.
Tell it what it is warming
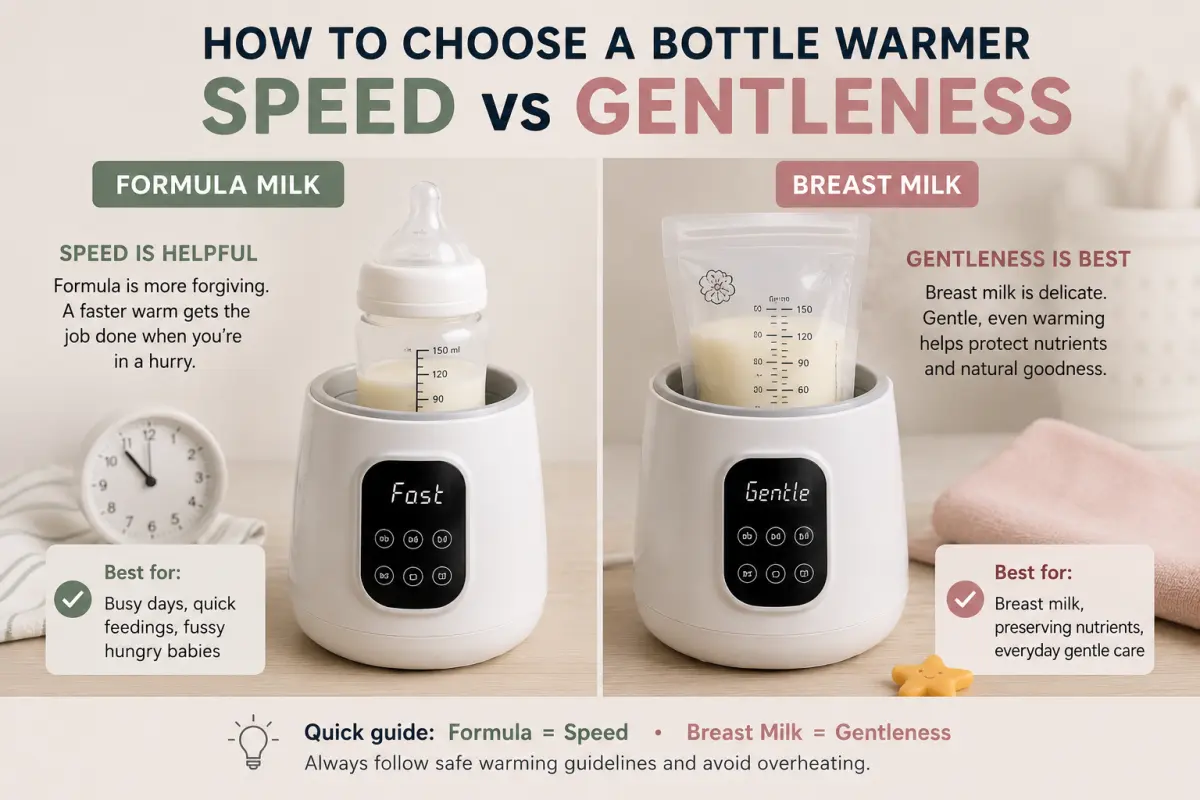
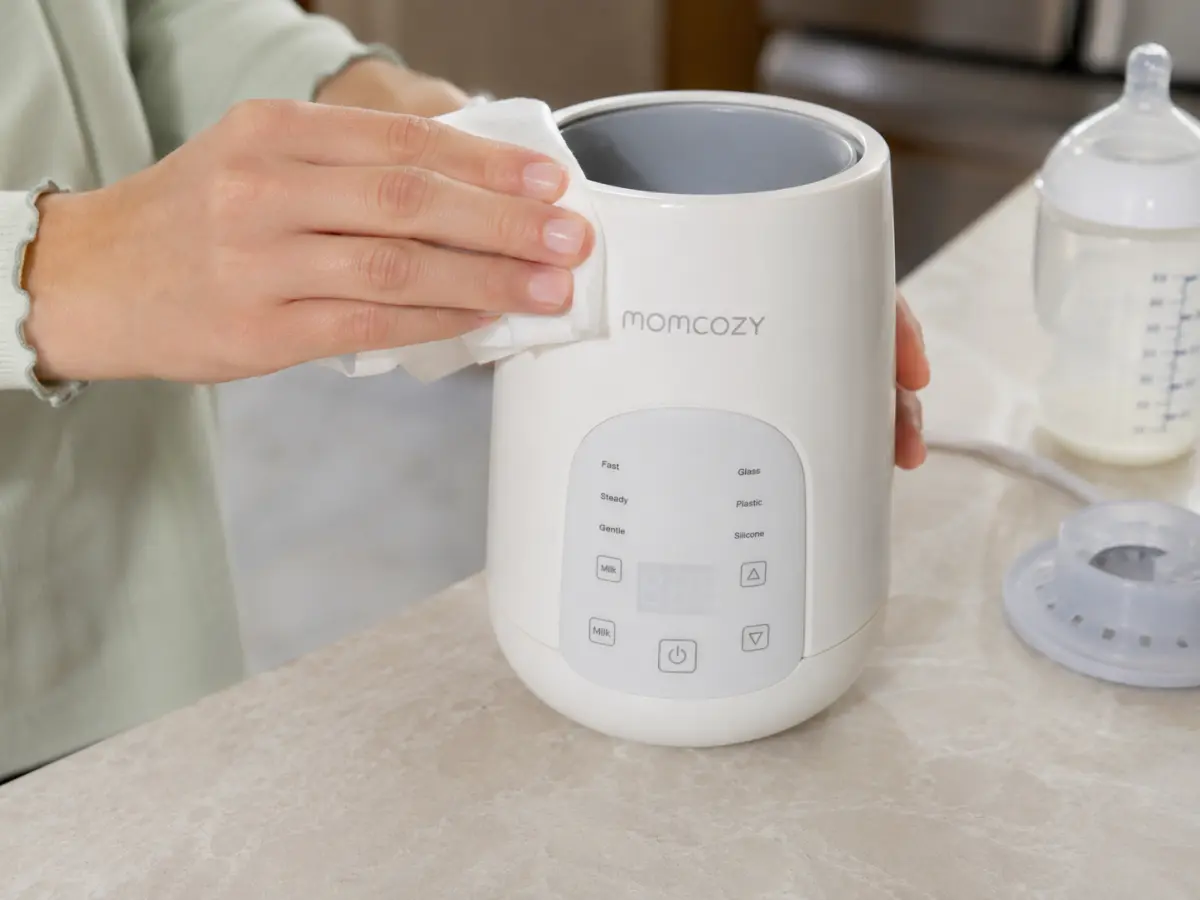
The better warmers do not have one setting, they have a way of describing the job. Our Momcozy countertop warmer lets you set the milk type, the bottle material and the volume, and it adjusts its cycle from those.
That is worth using rather than ignoring, because those three things are exactly what change the answer. Glass and plastic move heat differently, a thick insulated bottle slows everything down by design, and volume is the single biggest factor in how long anything takes.
If your warmer is simpler, which ours mostly are, the same logic still applies. You are matching a dial to a bottle, and the useful habit is to remember which position works for the bottle you use most rather than re-deciding each time.
Fridge-cold, room temperature and frozen are three different jobs
Warmers treat these differently and so should you when you are planning.
Room temperature to feeding temperature is a short trip. Fridge-cold is a noticeably longer one. Frozen is not warming at all, it is thawing, and any warmer that offers a thaw setting is telling you it considers it a separate task.
Using a warm cycle on frozen milk is the most common way people end up disappointed with a machine that is working fine. If yours has a thaw setting, use it and expect it to take a while. For how frozen breast milk should be thawed and handled, the CDC is the source.
Time your own warmer once
This is the fifteen minutes that changes how the machine feels, and almost nobody does it.
Take the bottle you use most often, straight from the fridge, and run it through the warmer with a phone timer going. Write the number somewhere. That is your warmer’s real time for your normal bottle, and it is more useful than any figure printed on the box.
Rated times are not dishonest, they are measured under the friendliest conditions: a small volume, often starting at room temperature, in a warmer already at working temperature. Our Philips Avent quotes about three minutes for a 5oz bottle and our stopwatch put a fridge-cold 5oz at three to four, which is close. Our portable is rated at two minutes for 4oz of water, and our actual 10oz bottles took ten to fifteen, which is not the warmer being wrong, it is two and a half times the liquid. We set all our timings out in how long a bottle warmer takes.
Start it when you are ready, not in advance
Warming ahead feels efficient and creates the problem it was meant to solve. A bottle that finishes five minutes early sits there, and then you are making a judgment about a warm bottle that has been waiting, which is a question we deliberately do not answer in can you leave a bottle in a bottle warmer.
Once you know your warmer’s real time, starting it at the right moment is easy. Four minutes before you want it, not fifteen.
What to do when it comes out wrong
Two failures are common and both have the same small set of causes.
If the bottle is cooler than you expected, the usual reasons are too little water in a water-bath warmer, a bigger bottle than the setting assumes, or milk that started colder than usual. Running a second short cycle works, and it is worth noticing which of the three it was so you can fix the setting rather than repeating the correction every night.
If it is warmer than you wanted, the setting is aimed at a bigger volume or a colder start than the bottle you put in. On a warmer without an auto shut-off, it can also simply be that it kept going after it was ready, which is the argument for buying one that stops itself.
Uneven is the third case, warm at the bottom and cool at the top, and that is almost always the water line sitting below the milk line in the bottle. More water, same cycle.
Swirl, then test, every single time
When the cycle ends, swirl the bottle rather than shaking it. Warming moves heat in from the outside, so the milk nearest the glass or plastic is warmer than the milk in the middle, and a swirl evens that out without the foam and pressure that shaking introduces.
Then test before feeding. Not because your warmer is unreliable, but because it is the only check in the whole process, and it costs two seconds. This holds for the hundredth bottle as much as the first.
Set it up so the night version is shorter
Everything above is easy in daylight. The version that matters is the one you do half asleep, and a few minutes in the evening takes steps out of it.
Fill the water before bed, at the same time as everything else, so the middle of the night starts at the bottle rather than at the tap. Leave the warmer on the surface where you will actually use it, which for us means the room where night feeds happen rather than the kitchen. And leave the dial where it lives, because a setting you never change is one less decision at the point where decisions are expensive.
Empty it and wipe it after
The step people skip. Water left standing in a chamber is how limescale starts, and scale makes a warmer slower and less even over months, which then gets blamed on the machine getting old.
Tip the water out, wipe the chamber, leave the lid off so it dries. That is the whole daily job. The occasional descale, and the things that will damage a warmer, are in how to clean a bottle warmer.
Using a portable one is a different sequence
Cordless warmers work the other way round: the milk goes into the warmer’s own insulated cup rather than the warmer heating a bottle from outside. So you pour in, pick a temperature, and pour out at the end, usually through a spout.
That changes two habits. There is no water chamber to fill, so the setup is faster. And because the milk touches the cup, it needs rinsing after every use rather than descaling every few weeks. The other thing to build in is charging it the night before a day out, since a flat portable is worse than not carrying one.
The bottom line
Water to the line your manual gives, bottle in, setting matched to what you are actually warming, and start it when you are ready rather than early. Time your own machine once so you know its real number. Swirl and test at the end. Empty and wipe it after.
If the machine itself is the problem rather than the routine, what we would look for after four warmers is in how to choose a baby bottle warmer, and the ones we own are in the best baby bottle warmers.
Frequently asked questions
How do you use a bottle warmer?
Put water in the chamber to the level your manual gives, stand the sealed bottle in it, pick the setting that matches the bottle you are warming, and start it. Most of the skill is in knowing your own machine's timing, which you learn by timing one bottle properly rather than by reading the box. When it finishes, swirl the bottle and test the milk before feeding, every time.
How much water do you put in a bottle warmer?
What the manual says, and it is worth reading once rather than guessing, because water-bath warmers and steam warmers want completely different amounts. A steam warmer uses a small measured amount and turns it to steam. A water-bath warmer wants enough to surround the milk level in the bottle. Too little water in either and the bottle warms unevenly or the machine runs dry.
What temperature should a bottle warmer be set to?
Use the setting your warmer gives for the bottle you are actually warming, which usually means telling it the volume, the material and whether it is fridge-cold or frozen. Our Momcozy countertop warmer takes all three and adjusts the cycle itself. For what temperature milk should be fed at, follow your pediatrician and the CDC rather than a gear blog.
How long should you warm a bottle for?
As long as your own warmer takes, which is a number worth establishing once with a phone timer. Ours range from about 3 to 4 minutes for a fridge-cold 5oz bottle on the fast countertop warmer to 8 to 10 minutes on the gentle one, and a 10oz bottle in a portable took 10 to 15. Volume and starting temperature move that number more than the brand does.
Do you shake or swirl a bottle after warming?
Swirl it. Warming heats the outside of the milk first, so moving it evens the temperature out, and a swirl does that without the foam and the pressure that shaking creates. Then test it before feeding. That last step is the only real check any warming method has, so it is worth doing even on the machine you have used a hundred times.